Translate

Tuesday 29 September 2015

I'm Here for you Always


I decided to have a go at an Autumn colour scheme even though it's hard to think Autumn when Spring has just sprung here and the heat makes you realise Summer is on its way. This always makes it very challenging to get into the Challenges for Fall and a snowy Christmas when we are heating up and headed for a hot summer Christmas.

So now here we are - I have used a Hero Art Stamp - NBUS and gold embossed it on a piece of creamy card stock. I have coloured using the zigs just scribbled onto acrylic block and added water to lighten the colour.

Started with orange in the middle then orange with yellow then yellow on its own. the other direction is orange with a little red added then red on its own. It didn't matter that the cardstock was not watercolour paper as very little water was used.
Finished off with Wink of Stella, check out the sparkle.

Decided to use a sentiment from another NBUS Stamp set. Love it, think it goes with the image really well. Embossed in gold. The panel was then added to a black cardbase.

I would like to enter this in a couple of challenges. 
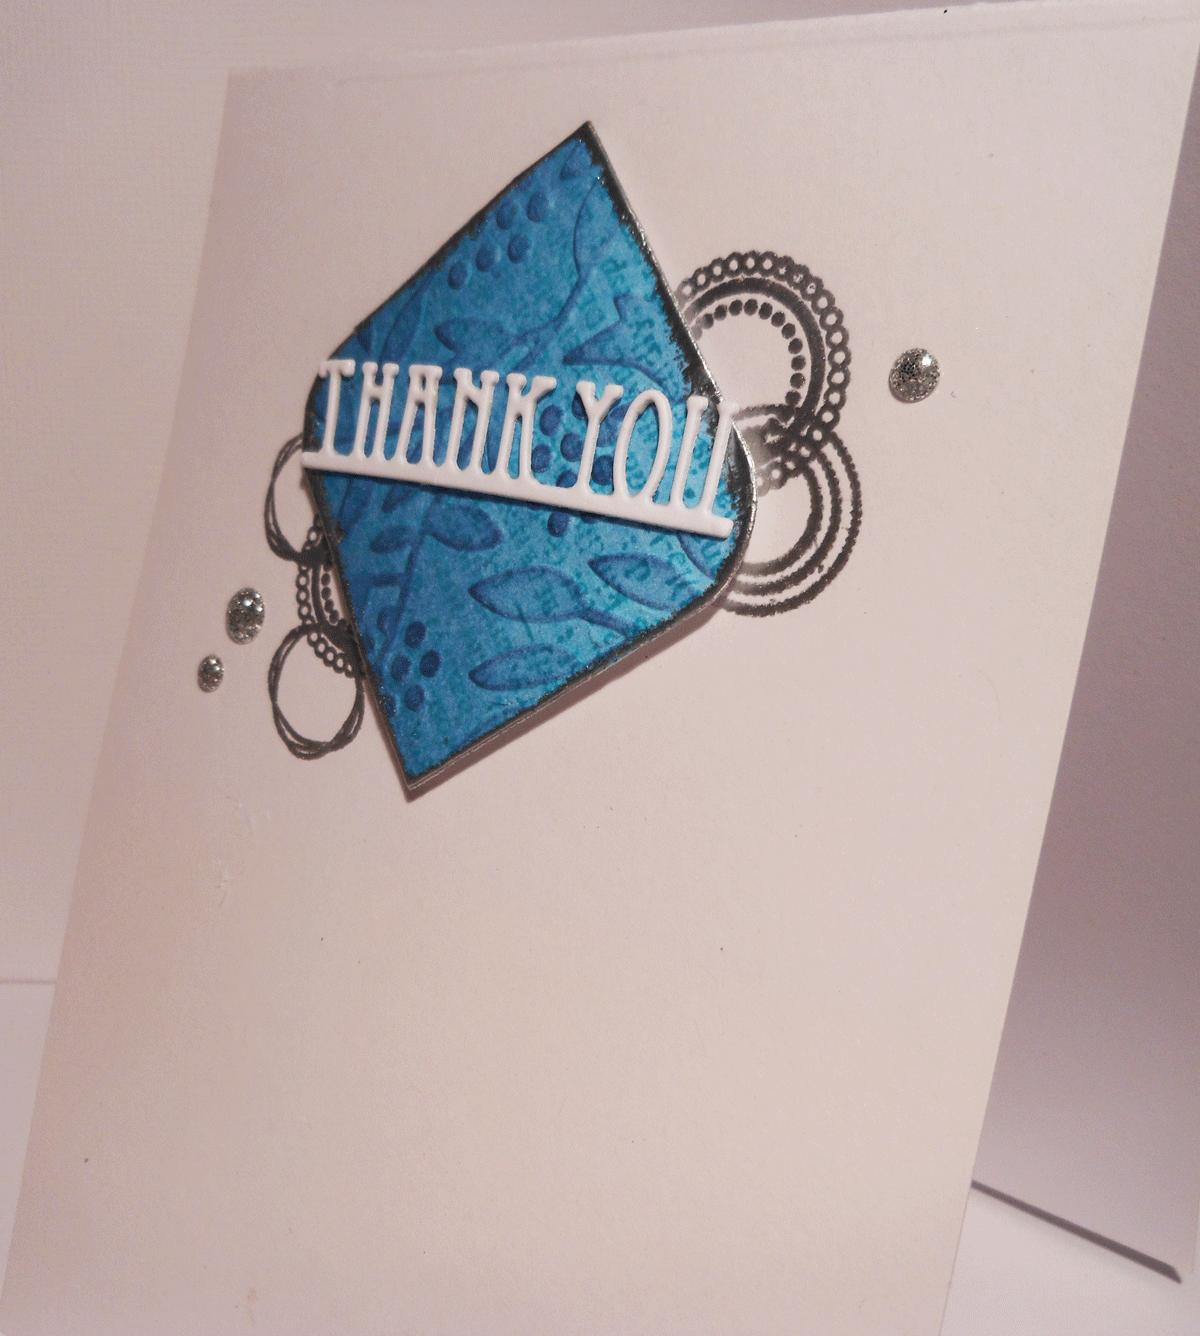
with optional twist of thank you.

No twist with this one.


Thanks for coming to visit and I hope you come again soon.


I miss your wonderful smile.


I recently got this stamp set and was dying to try it out. I also went and bought myself some watercolour paper in the brand that had been recommended as being best for use with Zig Watercolour Pens. Its perfect. I love it. To all ZIG users if you are struggling along with Tim Holtz watercolour paper which I absolutely love and use for all my other watercolouring  mediums there is just no point in trying to stick it out. Go buy the thinner Canson Watercolour paper (blue cover). Its not that crisp white of the Tim Holtz but there is something about this particular brand that just works perfectly with the Zigs.
If you are using the Zigs with no or very little water and don't expect the colour to flow then any watercolour paper is fine but if you want to be able to water it down, move it around the Canson works brilliantly.

Check out the flowers - this stamp stamps in this cluster so I did a large cluster in one corner and a small one in the opposite corner. I added the colours I wanted to use very watery washes first then played around to get the look I wanted.


The sentiment is also from the set. Joy Claire stamps. I bought these and some Christmas sentiments.

Finished the card off by mounting the panel on some strong pink cardstock and a few pink sequence here and there. I also went back of the black dots on the flowers with black liner pen as they had faded a bit with all the watercolouring I was doing - you know add some colour, remove some colour, add some more colour no remove a bit, on and on.......


I think I might add this to:


and

Used Pink for my card base.

Thanks you for coming to visit and I hope you come again soon.


Miss you so much


After completing my previous card I was looking at the other flowers I had done in white on vellum and had another idea so decided to make another card. 

Again I fussy cut out my flowers (altenew stamps) and then I added distress ink to the back of the vellum each time going with a soft colour all over then going with a stronger version of the colour just for the centre.

The round blending foam piece for the blending tool is the perfect size for the centre of the flower so worked brilliantly.


Attached the flowers with glossy accents and left nice and simple. Decided to add a couple of lines at the bottom of the card by scoring. Then my sentiment. I tell you I never never think of the sentiment till the end and so lucky to have Miss Misty to help me out.

Really really like this card.


Tracey's beautiful card. Love her blending and that wonderful flower.

Okay thank you for coming to visit and hope you come again soon.


Happy Mothers Day


Every time I look at this photo I find myself tilting my head to the side. I really need to work on my photography skills.

Anyway onto the card: This card I made to enter a challenge and hey you can never have too many Mothers Day cards, can you??

The flower stamp I embossed in white on Vellum a number of times so I could then fussy cut it out to make three layers. After cutting the layers out I used my hole poker tool (name is gone......) to gently curl the petals on each layer either up or under.


I then used a stencil and distress inks to add background to the card base. After I removed the stencil I went back over the areas with the same colours to soften the white.

I used glossy accents to attach each layer and finally attached a big clear gem. Yes then I used Miss Misty to stamp the sentiment and then silver embossed.

If I have any message for you on this card it is:
You MUST remember to use your emboss buddy when using Vellum and wanting to white emboss. Nothing worse than those nasty little white specks appearing everywhere on your flower (of course you know I speak from experience) and you just have to do it all again.

I would like to add this to 


Babies are all our dreams rolled into one.


I wanted to enter in the Addicted to CAS Challenge - Dream. To me it meant a baby sleeping and dreaming. I had the perfect image. This is a Mo's digital image and I LOVE IT. I coloured in with my copics.


I then kept it very simple and found the right sentiment to go with it. The longest part was trying to decide where to put the sentiment.I feel I put it in the right spot.


Thank you for coming to visit and I hope you come again soon.

Monday 28 September 2015

To a Very Special You


This birthday card is for my other twin, Elysha. Elysha loves when her sister calls her Princess Elysha so I thought this image absolutely perfect for her. Its their 23rd birthday today and they have cashed in well with dinner on Saturday night so everyone could be there at a Thai restaurant and tonight is Elysha and Aarons' favourite - MacDonalds' - yes still.

Though 23 Elysha has a developmental delay and is about 7 years old in most understanding, though she has an adults sense of humour and is cheeky as. Elysha loves dressing up and being beautiful, dancing and singing (though due to deafness has a very off-tone voice but since we say she sounds wonderful she lacks no self assurance)


Anyway she loves all princesses so this card went down very well.

Stamping Bella stamp, coloured with copics but the dress is paper pierced. Bit of bling added with glitter gel pen. Check it out. Added to a pink card base with dimensional tape to give a little lift.

Added a strip of glitter ribbon to top and bottom. Then of course I added the sentiment 'To a Very Special You'.

Would like to add this to a couple of challenges and thought I would send a copy to Stamping Bella as they are having a paper piercing challenge/share this week.

without the topping


Thank you for visiting and hope you visit again soon.

Party - follow me


It was the twins birthday today and I needed to make a card for each. They are no longer young children (23 today) but Aaron loves my card making so I wanted to put in a lot of thought here.

I also wanted to use my Purple Onion stamps again, this time with copics. So check it out.
The first photo is the front of the card with the sign pointing you in the direction of the party with a cute friend leading the way.
I stamped, coloured with copics and got a smudge so added a die cut balloon also coloured with copics but added a bit of wink of stella for a bit of bling. Cut the front panel slightly smaller and added a gold strip to make the front more interesting.


Now to the inside - talk about a scene and a half. All his friends here to wish him 'Happy Birthday'. Sparklers, fireworks and lots of friends, who could ask for better. even added grass and some presents.

Now its done and given today I would like to enter this in a couple of challenges:

Inspiration again is the cluster of animals. Freestyle collage could also be called 'CAS' if we only looked at the front!!


I've gone without the topping this time.

Well I hope you all enjoy your visit and see you again soon.

Sunday 27 September 2015

Be Jolly

  Last card of the weekend and the only one I have time to post now.

This was just so I could play around with the stamps, I decided to stack them so a bit of masking before adding each but my mouse for some reason ended up looking like he's jumping for joy or maybe planning to do a pirouette.
Stamped on watercolour paper and watercolored with Peerless watercolours. After the paint had dried I added Wink of Stella but as usual very hard if not impossible to catch in the night light. Trust me hats eyes and belly's all look wonderful and sparkly. Added a die cut star to the top of my animal tree and a few silver embossed decorations.
I added a lovely silver die cut 'Joy' but the glue smeared and I just made it worse so in the end it was better to cut a die tag and stamp a sentiment small enough to fit, that being 'be jolly' which I reckon these guys were before they decided to stand on each others heads. Added a wonderful red gem to finish it off.


got it in in plenty of time (8 hrs - so getting better!!)

Would also like to enter this in  The Card Concept: Card Concept #40 Forest Friends
I loved the picture and have done two cards. This is the first, where I got the inspiration from the cluster of animals and the Christmas Tree. Freestyle.

Last but certainly not least is at 
Couldn't be any more magic than my wonderful critters all piled up and decorated for Christmas. Didn't make it in time........silly billy.


Thanks for coming to look and hope you visit again soon.


Friday 25 September 2015

Love You


Had a number of ideas to try but decided to do this one and then see if theres time to come back later and do another.

I tried on white card first but preferred the look on  textured black cardstock (which I have a distinct shortage of).


Anyway I decided to use this circle die and cut in glossy gold cardstock. It comes out as one large piece and three small individual rings. These I placed as one at the bottom starting the thought, the cluster then the two drifting away.

I used my IO Hearts die to punch out lots of little red hearts then decided I would use the smallest with a couple of larger thrown in. These I covered with glossy accents and left to dry.

I then gold embossed the Love You sentiment at the bottom of the card with a small heart floating up to become lots of loving thoughts floating to the one I love.


I feel this is just perfect for the Challenge at CASology #165 Circles 

Thanks so much for coming to visit and I hope to see you again soon.


Thursday 24 September 2015

Thank you


I love the layout of the sketch at CAS(E) this sketch 141 and thought I would have a go.


I don't think I've done a sketch before and I am hoping that I stayed true enough to the sketch for this to be accepted. The blue panel I cut out with a die. The piece of blue card stock I had done a while ago with someone showing me how to stamp with a  word background stamp in distress ink, then blend the same ink, then use an embossing folder to add the leaves and berries then add a bit more of the same ink to the lifted section that had been embossed.


I'm so glad I kept the piece and used it this way. after die cutting I added silver embossing powder round the edge.

I used decorative circle stamps from a Uniko stamp set and silver embossed them. A white die cut 'thank you' from Penny Black which I felt worked perfectly and finished off with some sparkly silver dots.

Very minimal for me but I really liked the end look. So easy to do once I decided on the piece for the main die cut and which circle stamps to use.

I would like to get this in again just in time to the CAS(E) this sketch #141

Didn't think I would make it home intake to make this from mum and dads but as you can see by the skin of my teeth I made it.

Thought I would also enter this in Simon Says Wednesday Challenge - no designer paper
certainly no designer paper there.

Thank you for coming to visit and I hope you come again soon.


Monday 21 September 2015

Especially for you.


I  needed a birthday card for my darling little grandson having his 1st birthday soon.
This stamp was given to me as a RAK along with a couple of other stamps.He was designed by Rachael Anne Miller who is an illustrator. It is such a cutie that I cant believe I haven't coloured it before. I stamped it a while ago but get so side tracked with other ideas.


Anyway I have coloured him with copics (don't you just love the parted hair I gave him. All washed and ready for the party. I coloured in with one of my favourite colour combinations. Purple and mint yummo. Added glitter to the streamers with a glitter gel pen and the same with the orange dots.


Added three little dots on his cheeks with a white gel pen. Something I've seen Pop's do on her cards that looks so cute.
This card was so quick and easy to do. I cut out the image layer with a die that does the scalloped edges and the stitched edge. Again first time used.

White card base, then a green layer then the coloured image layer. Three little purple dots and stamped with one of the sentiments that came with the stamp 'Especially for you'.

I would like to add this to Seize the Birthday : Anything Goes
a first birthday card

I hope its not too busy. I went and looked at other entries and felt it might be okay but not really sure because of the little additions of extra layer and enamel dots, so my apologies if its wrong. Just delete please.


I do believe my little monkey fits the bill. Left a comment and added a link to your challenge.

And last but certainly not least
Make your mark for me its always Copics, Inks and Paints - copics here.

now its time to leave this post alone. Thanks for coming to visit and I hope you will come again.


Thank You


I had 20 minutes to spare before I set off for mum and dad's. So what do we do when we have a spare 20 minutes: Do we leave earlier (nah) Do we tidy the house so nothing has to be done by the others when I'm away (nah), I make another card of course.


Little Tangles have a mint & gold challenge going. So I thought I would give the mint & gold another go.

I have used the main die from Neat and Tangled, its just so nice with the rose cutouts.
I cut it out twice and stuck one layer on top of the other. I used Pistachio Distress Ink (Looooove it) and blended very gently onto the card base. Added the die cut and then cut the card down in size for balance. 


Was going to stamp but ink doesn't work well on this gold card stock so I used another die cut. The 'Thank You' die was cut in gold as well but a very shiny metallic gold. It works IRL - trust me on that.
I was going to add some more distress ink inside the flowers but couldn't find my foam tool for fine blending, started with a cotton bud. You can see on the rose at the bottom that mark in the centre of the flower. I stopped before I demolished.
I decided to add Perfect Pearls powder instead, just on the inside of the die cut. If you click on the photo you can see it better. Looks really nice, just the perfect finish.

You don't have to use Neat & Tangled products to enter. They also have some freebies available to use on their blog if you want to. 


okay time to post it so, thank you for coming to visit and I hope you come again soon.


Sunday 20 September 2015

Thank you


Okay hows this for stepping out of my normal zone. All die cuts except the sentiment. Lots of itty bitty flowers. This is what I was inspired by


I looked at so many ideas and cut out so many things and stamped and couldn't make up my mind. I finally went with two different die sets. One for the box for the flowers and that I added dimension to by adding double sided foam tape.


The flower set I cut all in white then the centres in yellow. The centres on the bigger daisy's are really for the next size up but there were no middle size and I quite liked the centres so I went with them.

I used a glossy white card stock for the flowers but not so sure on that or maybe I need to glossy accent the circles to join it all together or Wink of Stella (the all time fixer of everything).

I also curved most of the petals using my hole poker tool which was thin enough to be able to use cause these flowers are quite little.
Sentiment Thank you added in black. then of course I got a smudge a bit lower on the card hence a slight cut down in size.

Anyway time to post this as its time to get ready to head off to mum and dads again for a few days.

I think my style is Clean and Layered. I just wanted to mention that because I am going away and there is no internet at mum and dads I may not get a chance to comment if anyone posts after me. I have commented on a few of the cards done along the way, hope thats ok.

Forgot I wanted to add this to Simon Says Challenge - Wednesday - Crazy about Dies

sorry if any of you got this twice.
thanks for visiting and I hope you come back soon.

Life is Good


Spring is here and already we are getting temperatures in the high 30's. There are days the exact opposite too but hot more than not. Spring, Summer means the beach.  

So when I saw the umbrella challenge my first thought was umbrella for the beach, these stamps I have. So I have used all the stamps from the same set - sun, umbrella, 'Life is good' sentiment and a little air of thongs. (I know overseas you say flip flops but not here.)


I used all Hero Art Neon Inks merging the orange and pink on the umbrella and the sentiment. The sand was added with Copics in brown, beige and yellow colours.

Finished it off by using a white gel pen and doting all the dots on the umbrella to give it a little texture.

Its a smaller card than I usually do but felt it needed to comedown in size to work.

Would like to enter this in the CASology Challenge #164 UMBRELLA


Friday 18 September 2015

Happy Anniversary


This isn't for a challenge or at least I haven't looked to see if there is one it fits. I just needed to make an anniversary card quickly and knew my friend would love this style.

This card is made by using Alcohol inks dropped onto acetate then using a straw to blow and move it around. The inks dry very quickly so you can only do a couple of drops at a time. I also used a bit of colourless blending solution a drop here or there reactivates the ink and causes those neat circles you can see.

I have cut the piece out and attached with little white head pins (sorry cant think of the word) on the top part of the white card stock then scored a couple of lines below the piece. Leaving enough room for the 'Happy Anniversary' sentiment. I then attached the whole piece to a black card base.

When I make these sheets I usually have a few A4 sheets going. I lay the acetate out on white scrap paper so I can see the colours and designs I am achieving. I have these played out on an old sheet that has been folded a couple of thicknesses so it can catch any spillage. 

I get out my alcohol inks and then make the colour choices. My favourites are a mix of rainbow colours with flicks of gold/copper which is not transparent like the other inks or blue and mauve with flicks of silver. Have my blending solution there and a straw or two. I may leave it out for a few days stopping every now and then to drop inks add , blow, drop blending solution. One thing I have found is that if you blend your colours too much and they get muddy then you can just add blending solution and wipe off and start again.

But you will be amazed when you cut your pieces up into rectangles squares strips they look brilliant even when you look and think no, they just work. Make lovely card sets really easy.

O oooo I found a challenge perfect for this card
With these alcohol inks I think I have truly made my mark. Love anything colourful so it fits the bill.

Hope you enjoyed your visit and come again soon.

MY HEART beats FOR YOU


Another card for the Simon Says Wednesday Challenge. I love playing around with the dies that I have. Mind you I sit and cut out shapes and sentiments in every colour I can think of and end up with so many versions sitting there waiting for me to make them into cards.

With this die which is from Impression Obsession I love the negative as well as all the little hearts or is it the other way round. Anyway found I have done this in white, red,pink, gold, silver some with hearts all attached some with the inner heart removed.


In this instance I have used pink (I know it looks more red but its HOT pink). After I cut out the die shape I lined up the outline and went back and stuck all those little hearts back in. I love this look.

I have added the hearts to a beautiful piece of white cardstock I bought from overseas with a lovely linen grain. In my quest to find  a cardstock that is similar to what Birgit uses on her cards. Anyone who knows of Birgit knows the beautiful cards she makes, always with this beautiful card stock. I have attached the link to her blog if you want to check it out  . But get yourself a coffee and get ready for a long look, her art work is truly beautiful.

Anyway back to mine. after adding the hearts I have added the sentiment 'My heart beats for you' which is from CAS-ual Friday. Love all the sentiments and music notes in this set.I stamped using three different pinky/red inks along the line of the sentiment but its not really that obvious.


I hope you enjoy your visit and come visit again soon.

Oh, happy day!


Thought I would do one more card for Virigina's View. I'm hoping I have the right idea here.
I first stamped (Hero Art background stamp) & white embossed some card stock then coloured all the little sections with copics and a gentle spray of shimmer mist. Then I cut the sheet with a new Reverse Confetti die keeping all the pieces very close. I then cut a piece of black cardstock, that has a leather-like appearance, with a stitched die. Using another piece of black cardstock as the base I adhered the die cut pieces so they are going down the card like they are strung on the wall.

I wanted to make sure the colours were going in the same direction forming a pattern. I then laid
the stitch die cut piece over the top.

I decided to use 'Oh, happy day' sentiment as the card makes me think party. I stamped and white embossed and it looked shocking. The card stock didn't take the ink or embossing powder well.
So it was time to improvise. Plain black card stock, gold embossed cut to size so it went just below the stitched section and just cut the edges so it looked like a banner.


Another one of those cards that the colours look better IRL, looks a little washy here but I'm happy with the look. After I finished it I ended up sitting and thinking maybe its not right for Veronica's Challenge. Just not sure so thought will enter and it can be ignored if not.


Geometric Hero Art background stamp then the actual design.

I'm also going to enter this in the Simon Says Wednesday Challenge - Die Crazy
Having used mostly dies for this card I think it fits the bill.

Just realised I should have added this to Happy Little Stampers: CAS Challenge -Colouring
The die cut pieces come from a larger background stamp that has all been coloured in with copics.
My favourite easy way to colour.


Thanks for coming to have a look and I hope you'll visit again.


Wednesday 16 September 2015

Honourable Mention or two

I don't know how to put the buttons on the side of the blog for when I get a Honourable mention so thought I would do a post - just to have a braggy  moment. I know its not polite but really its a happy moment and I just couldn't resist.

First I got a mention at

CASology


and another from:


Virginia's View Challenge


Yahoo another Honourable mention


CASology


I thank you for giving me a Honourable Mention. Its a very nice feeling.